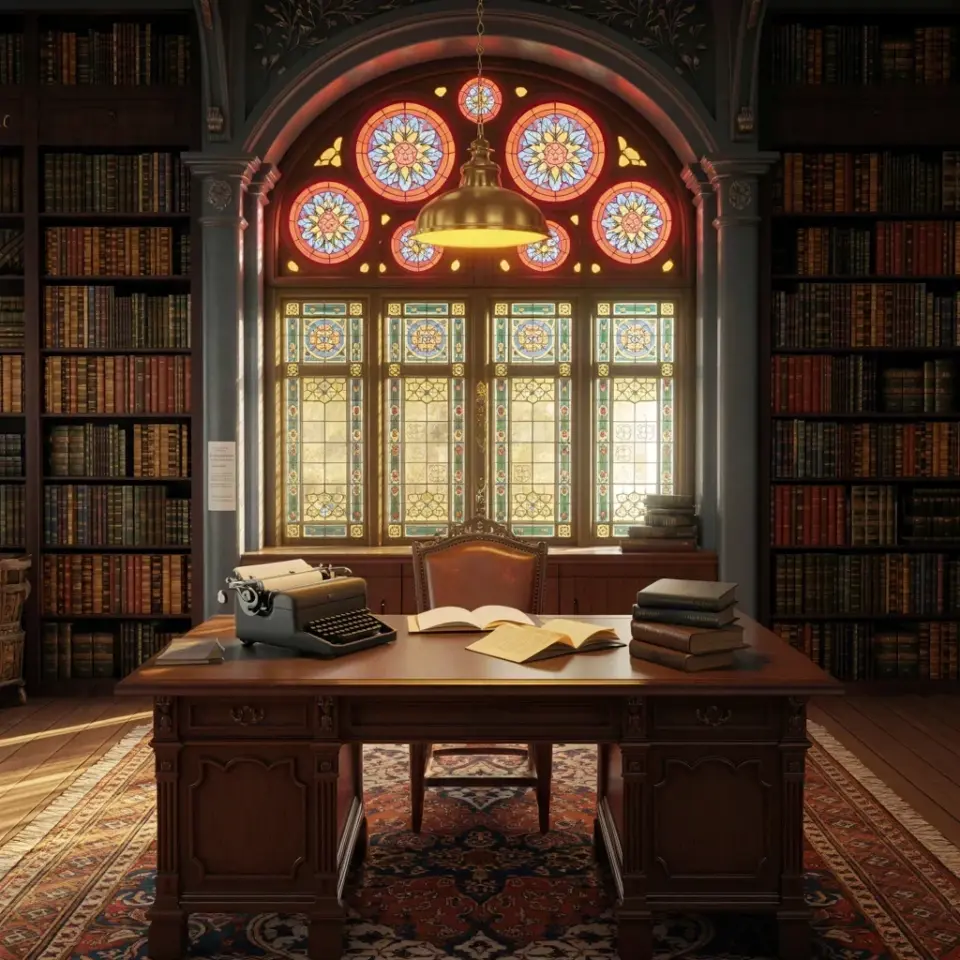
If you’re curious about Fall Steampunk Decor but don’t know where to start, you’re in the right place. I’ll walk you through the whole thing step by step, no prior experience needed. My living room used to be all cool grays and blue throw pillows, but last October I swapped them for warm copper and brass accents. Honestly, the change felt like turning a page in a Victorian novel set inside a locomotive factory. Cozy and gritty at the same time.
Understanding Steampunk Style for Your Living Room
Here’s the thing: steampunk is not about steam engines or goggles. Not really. It’s a mood. Think of a workshop where Nikola Tesla kept the lights on with Edison bulbs. Think of an old trunk that traveled across continents. The style combines cast iron with velvet, wood with patinaed copper, and exposed gears with soft leather. You don’t need a time machine to pull it off.
For a beginner, the easiest way to get that look is to focus on two things: metals that feel warm and worn, and fabrics that feel thick and lived in. Cool stainless steel? Skip it. Shiny chrome? No thanks. You want brass that tarnishes, copper that darkens at the edges, and iron that has a rough texture. That’s your palette.
Why Warm Metals Work So Well for Autumn
Look, fall is all about shifting from bright to muted. Leaves go from green to rust. The sun hangs lower in the sky. So your decor should follow that same path. Copper and brass have this natural orange-yellow glow that matches candlelight and the last golden hour of the day. They don’t compete with autumn colors. They amplify them.
I tested this by holding a copper vase next to a stainless steel one under a lamp. The copper vase threw a soft amber patch on the wall. The steel one? It just glared. And there’s another reason warm metals work here: they age beautifully. A little patina, a few scratches, and they look more authentic. That’s exactly what you want for a steampunk vibe.
- Copper planters or mugs (even cheap ones from a thrift store)
- Brass picture frames with dark velvet mats inside
- Rust-finished iron candlesticks (not too tall, maybe six inches)
- A small sheet of copper mesh from a hardware store – tack it behind a bookshelf
The Essential Base: Industrial Leather and Dark Wood
Metals are the jewelry, but your base is what holds it all together. For an industrial living room that feels like a Victorian workshop, you want leather that is worn, cracked, or at least looks like it has stories to tell. I found a beat-up leather club chair on a garage sale app for forty dollars. Best decision ever. The armrests are smooth from decades of hands, and it smells like an old library.
Pair that with wood that is dark – walnut or stained mahogany. Avoid pale oak or bleached pine. If you have a light wood coffee table, you can darken it with a stain in an afternoon. Seriously, it’s not hard. Just sand lightly, wipe with a damp cloth, and apply a dark gel stain. You’ll get that warm, moody foundation that makes the copper and brass pop.
One tangent: I spent an entire afternoon trying to match a paint swatch called “charcoal brown” for my wall. It turned out too gray. What finally worked was a flat black with a tiny bit of rust undertone. Sherwin-Williams calls it “Stained Concrete.” Use that if you want the room to feel grounded without being a cave.
Lighting Is Everything: Edison Bulbs and Copper Fixtures
You can have the best metal accents in the world, but if you light the room with cool white LEDs, the whole effect falls flat. Not gonna lie, I learned this the hard way. Swapping in Edison bulbs with visible filaments changed everything. They cast a warm, slightly uneven light that flickers just a little – enough to remind you of gas lamps and train stations.
For fixtures, look for pendant lights with copper or brass shades. Or even simpler: get a metal lamp base that is raw iron or bronze, and top it with a shade made of burlap or mesh. I found an old dentist lamp at a flea market, rewired it myself (YouTube tutorial, took twenty minutes), and now it hangs over my reading chair. The arm swings, the bulb is exposed, and it looks like something from a dirigible cabin.
If you’re not into rewiring, IKEA has a simple pendant called the “SINNERLIG” (though they keep changing names) that is made of bamboo and metal – spray it with matte copper paint, and nobody will know.
DIY Pipe Shelf Tutorial (Quick Version for Beginners)
Ok, so the full post has a step-by-step tutorial, but here’s the condensed version for anyone who wants to try it this weekend. You’ll need black iron pipes from a hardware store – the threaded kind used for gas lines. No, you don’t need a gas license. They come pre-cut in standard lengths.
Get two flanges (those flat round pieces that screw into the wall), two short pipe nipples, two elbows, and one long pipe for the shelf support. Also grab a solid wood board – pine is fine if you stain it dark. Screw the flanges into studs (use a stud finder, don’t guess). Attach the nipples, then the elbows, then the long pipe. Lay the board on top. Done. It’s literally four steps. I’m not a handy person and I finished in under an hour.
A few things I wish someone had told me: use a level, but also use your eye. Pipes are rarely perfectly straight because of the threading, so sight down the shelf and nudge it. And don’t overtighten the elbows – I cracked one by being too aggressive. You want them snug, not cranky.
Small Touches That Make a Big Impact
Once you have the big pieces (sofa, shelf, lighting), the rest is about texture and curiosity. Look for objects that feel like they belong in a steampunk inventor’s study. A small brass compass on a stack of old books. A glass dome with a single dried flower inside. A magnifying glass on a stand. These aren’t expensive – I found my compass at a shop that sells antique nautical stuff for eight dollars.
Another thing: use leather in small doses. A leather-bound journal on the coffee table. A single leather pillow on the sofa (not a pile of them, just one). The contrast between that soft aged leather and the cold iron pipes is what makes the room breathe. And honestly, a single Edison bulb lamp on a side table can change the whole corner of a room. Try it at night with no other lights on – you’ll see.
Balancing Victorian Elegance with Industrial Grit
The trickiest part of steampunk is not going too far into one direction. If you only use cold metal and rough wood, your room looks like a warehouse. If you add only velvet and lace, it looks like a costume. You need both. A Victorian workshop is a place where delicate watch parts live next to heavy wrenches. So hang a small ornate gold mirror next to a pipe shelf. Put a floral velvet cushion on a rusty stool.
I have a little corner in my living room where a brass table lamp sits on an old wooden crate. The lamp has a delicate glass shade with etched floral patterns. The crate has splinters and nail holes. They look weird together until you stand back and notice the warm light falling across the rough wood. That’s the whole point. It’s not about perfection. It’s about the friction between textures.
One last personal note: I spent way too long trying to find a “steampunk coffee table” online. They were either hundreds of dollars or looked like props from a low-budget film. In the end I bought a plain wood table for thirty bucks and glued a piece of copper sheet metal across the top. I sealed it with polyurethane. Cost me maybe twenty more dollars. Looks like it cost three hundred. So don’t overthink it – make it yourself.
Hopefully this gives you a clear starting point. Steampunk fall decor is really about swapping cool tones for warm ones, using real textures, and not being afraid to mix old and rough with polished and delicate. Try one of these ideas this weekend and let me know how it goes. I’d love to hear which corner of your living room gets the first Edison bulb.
#steampunkdecor #industrialdecor #falldecor #copperaccents #victorianstyle
Leave a Comment