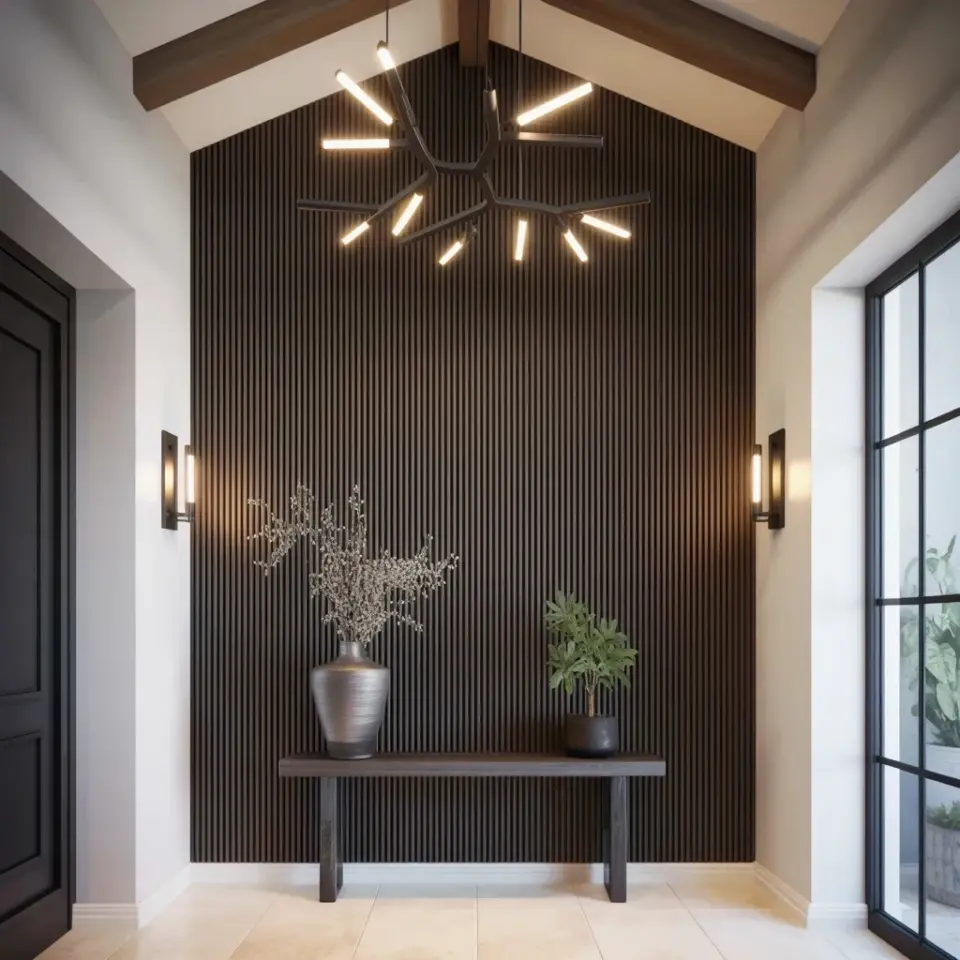
Honestly, when I first thought about DIY woodworking on a budget, I had no clue where to start. I mean, I could barely hammer a nail straight. But I was broke, I wanted nice stuff for my home, and I figured scrap wood and a little sweat could get me there. And you know what? It worked. This isn’t a guide for master carpenters. This is for you if you have zero experience, a small wallet, and a desire to build something real. Not gonna lie, some of my early pieces looked a little janky. But I learned, and now my apartment is full of custom wood projects that cost maybe ten bucks each. Here’s exactly how you can do the same.
The Only Tools You Truly Need to Start
Ok so here’s the thing: you don’t need a workshop full of gadgets. I started with a $20 hand saw, a hammer, a tape measure, a square, and some sandpaper. That’s it. Five tools. A power drill is nice to have, but you can borrow one or buy a cheap used one for fifteen dollars. Honestly, skip the fancy router table or miter saw. They eat up budget and scare beginners. Focus on the essentials for woodworking on a budget: a way to cut, a way to measure, a way to join, and a way to smooth. For joining, a simple wood glue and a few nails or screws will do.
Here’s my weird personal confession: I spent way too long trying to build a birdhouse with a dull chisel once. My neighbor’s dog barked the whole time. I gave up. Moral of the story? Buy a decent hand saw (a Japanese pull saw is like $15 and cuts like butter) and call it a day. Later you can add a jigsaw for curves. But start simple.
Where to Find Free or Dirt Cheap Scrap Wood
You can’t do budget DIY wood crafts without cheap wood. Look, don’t go to Home Depot and buy new pine boards at seven dollars a piece. That defeats the purpose. Instead, try these sources:
- Check construction dumpsters (politely ask the foreman first). Big pieces of wood get tossed daily.
- Post on your local Buy Nothing Facebook group. Ask for leftover wood from someone’s deck build. People are happy to give it away if they don’t have to haul it.
- Your own old furniture. Got a wobbly table? Smash it apart and use the wood for smaller projects. Salvage wood from pallets, but avoid painted pallets (they can have nasty chemicals).
- Alleyways and curbsides on bulk trash pickup days. I found a solid oak headboard once. Turned it into a rustic shelf.
A specific example: I asked a guy at a local construction site if I could take some scraps of plywood. He said yes, then handed me a whole sheet with a small crack. I used it for two years.
Your First Project: A Simple Floating Shelf
For your first custom wood project, try a floating shelf. It’s just a rectangle, but it looks clean if you do it right. Cut your board to length (say 24 inches). Sand the edges until they feel smooth. No splinters. Paint or stain it. Then attach a simple hidden bracket (you can buy a cheap shelf bracket set online for five dollars). Screw it into a stud in your wall, slide the shelf over it. Done. This is an easy floating shelf DIY for beginners on a budget. I made my first one out of an old pallet board. Took me an afternoon. My mom thought I bought it at West Elm. I didn’t correct her.
Custom Wood Projects That Look Expensive but Cost Pennies
Want to get fancier without spending more? Try a chevron-style wood sign. Cut thin strips of scrap wood, glue them onto a plywood backing in a zigzag pattern. Sand the whole thing flush. Stain it with a dark walnut color. The pattern hides mistakes and looks store-bought. Another idea: a tiered plant stand. Just stack three small wooden cubes at different heights, glue them together, paint them white. Boom, budget custom wood projects that look expensive. My favorite is a “lazy susan” made from a circular scrap of plywood and a cheap rotating bearing. Put a nice stain on it. Suddenly it’s a $40 serving tray. Not bad for zero dollars in material.
Here’s a mildly odd aside: I once used leftover flooring planks from a neighbor’s renovation to build a small entryway bench. The planks had weird click-lock edges, so I just flipped them upside down and glued the smooth side up. Looked like intentionally textured wood. My neighbor was confused. I was proud.
Three Finishing Tricks to Make Cheap Wood Look High-End
Good finishing is the difference between a kindergarten project and a home decor piece. First trick: sand up to at least 220 grit. Don’t skip grits. Go 80, then 120, then 220. That arm ache is worth it. Second trick: use a rag to wipe on a thin coat of polyurethane or wax. It seals the wood and brings out the grain without needing fancy spray equipment. Third trick: apply a “shabby chic” effect by painting a base coat of dark color, then a top coat of light, then sand the edges. The wood shows through and it looks aged and elegant. These cheap wood finishing tricks for home crafts cost almost nothing. I have a shelf in my bathroom that is literally two pieces of scrap pine, stained with a mix of coffee grounds and water. True story. It smells a little weird but it’s pretty.
Mistakes I Made (So You Don’t Have To)
I want to be real with you. I messed up a lot. My biggest mistake? Not measuring twice. I cut a piece of wood too short, then tried to glue on an extra piece, and it looked terrible. Throw it away and start over. Second mistake: using nails where screws should go. Nails work for temporary stuff, but screws hold stronger for furniture. Third, I once used a dull blade to cut plywood and it splintered badly. Replace your blades often. Those are common budget woodworking mistakes beginners make. Avoid them. Also, don’t assume all cheap wood is flat. Warped boards fight you. Pick straight ones. If it’s curved, use clamps to flatten it as glue dries.
Another mistake: buying a cheap power sander that vibrated so hard my hand went numb. I returned it and just bought sanding blocks. Not as fast, but cheaper and my fingers stayed attached.
Anyway, the whole point is this: you really can make beautiful things with almost nothing. Start with a simple floating shelf. Then try a sign or a plant stand. Use scrap wood, basic tools, and patience. Before long you will have a house full of custom wood projects that cost pennies and look like a million bucks. That feeling is way better than buying something from a store. If you give any of these projects a shot, I would love to hear how it goes. Drop a comment below or save this pin for later so you can find it again when you are ready to build.
#Woodworking #DIYWoodCrafts #CustomWoodProjects #BudgetDIY #HomeCrafts
Leave a Comment